
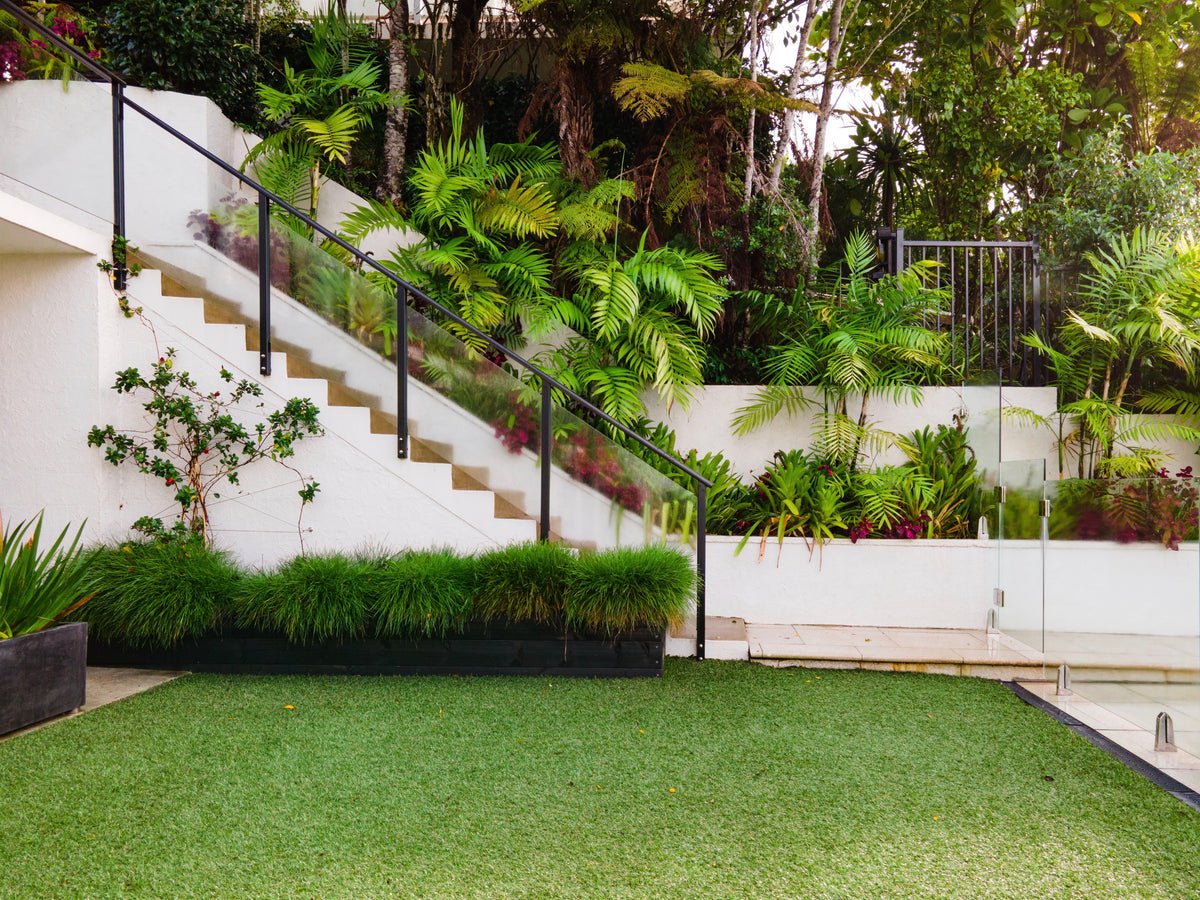
Starting a garden from scratch in South Africa: where to begin
The short answer
Start a garden from scratch by watching, not buying. Spend a week noting where the sun falls at different times of day, where water pools after rain and where the wind hits, because in South Africa the sunny north-facing side and the frosty low corners decide what will grow. Squeeze a handful of damp soil to tell clay from sand, or do the jar test, then dig in generous compost whichever you have. Decide what the garden is for, draw a rough plan, and prepare one bed or a few large pots properly rather than a whole yard badly. Use big pots on paving, in rentals and on rubble-filled ground where digging is pointless, filled with outdoor potting soil rather than garden soil. Plant tough indigenous species first, buy small, mulch, water deeply in the morning and walk the garden every day.
Every garden we have ever admired started as a patch of nothing. Bare builder's sand behind a new townhouse, a paved courtyard in a rental, a lawn that has been mowed and ignored for twenty years. The temptation, when you finally decide to do something about it, is to drive to the nursery on Saturday morning and fill the boot. We would love you to do that eventually. But the gardens that are still going strong three years later almost never started that way.
They started with someone standing in the yard with a cup of coffee, noticing things. Where the sun lands at eight and where it lands at four. Where the water pools after a thunderstorm. Which corner the wind hammers. This is the unglamorous part of starting a garden from scratch, and it is the part that saves you money, because plants put in the wrong spot die no matter how good the soil or how carefully you water. Here is how we would begin, if we were starting over.
Watch the sun for a week before you buy anything
Pick a normal week and check the garden three or four times a day. Take photos on your phone if it helps, because memory lies about this. You are looking for the spots that get six hours or more of direct sun, which is where vegetables, herbs and most flowering plants want to be. In South Africa that is usually the north-facing side of the house. You are also looking for the shade that moves. A bed that is baked at noon in December might be in shadow all day in June when the sun sits low, and a lot of frost damage on the Highveld happens in exactly those spots, where cold air settles and the winter sun never reaches to thaw it.
Note the wind too. Pretoria and Johannesburg get a hot, drying August wind that shreds new leaves, and the Cape's southeaster will flatten anything tall that is not sheltered. None of this means you cannot garden in those places. It means you now know where the tough plants go and where the delicate ones might have a chance.
Get to know your soil with your hands, then a jar
Dig a spadeful from the spot you are planning to plant and squeeze a damp handful. If it forms a sticky ball that holds its shape and shines when you rub it, you have clay. If it falls apart and feels gritty, you have sand. Something in between that crumbles gently is loam, and if that is what you have, go and buy a lottery ticket. Most South African gardens are either heavy clay that turns to concrete in a dry August or thin sand that will not hold water past lunchtime, and much of Pretoria sits on heavy red clay.
For a clearer picture, do the jar test. Half fill a straight-sided jar with soil, top it with water, add a drop of dishwashing liquid, shake it hard and leave it on the windowsill overnight. Sand settles first, silt on top of that, and clay stays cloudy for hours before settling as the top layer. Clemson University's extension service has a good walkthrough of the jar test and how to read the layers. The Royal Horticultural Society's guide to soil types then tells you what each one means for planting. Whatever you find, the answer is nearly always the same: dig in compost, a lot of it, and keep adding it every season. Clay opens up and drains, sand starts to hold water, and both come alive with worms. We wrote more on this in why soil health matters.
Decide what you actually want from it
Be honest here, because the answer changes everything. A garden for Sunday braais needs a lawn or paving, some shade, and plants that look good without much fuss. A garden that feeds you needs the sunniest spot, beds you can reach from a path, and a tap nearby. A garden for birds and butterflies needs indigenous shrubs and a bit of untidiness. You can have more than one of these, but pick a lead and let the others follow, or you end up with a bit of everything and not much of anything.
Draw it, even badly. A rough sketch on the back of an envelope with the house, the sunny side, the tap and the compost heap marked is worth more than an hour of scrolling. If you prefer something on screen, our free Garden Planner lets you lay out beds and pots and see what fits before you dig. The longer read on this, how to plan a garden that will thrive, goes through the thinking in more depth.
Start smaller than you think
One well-prepared bed of three metres by one, or six good-sized pots, is a garden. Twenty square metres of half-dug ground with plants dying in it is a chore you will start avoiding by February. The first season is for learning how your particular yard behaves, and that lesson costs the same whether you learn it on one bed or ten. Once that first bed is thriving and you know where the shade and the wet spots are, extending is easy and cheap because you are dividing plants that are already doing well.
Starting small also means you can afford to prepare properly. A single bed gets a full bag of bark compost forked in and a layer of mulch on top. Spread that same bag over the whole garden and it disappears without a trace.
Pots for the hard spots
Every garden has places where nothing sensible will grow in the ground. The paved courtyard. The strip of compacted fill next to the driveway where the builders dumped rubble. The rental where you are not allowed to dig. The north wall that bakes. For all of those, pots are not a compromise, they are the answer, and they let you garden immediately while the beds catch up.
The trick is to go big. A small pot dries out twice a day in a Highveld summer and freezes solid in winter, while a large pot holds enough soil to buffer both. Fill the base of a very large pot with Pot Filler so you are not paying for soil the roots will never reach, then use a proper outdoor potting soil rather than garden soil, which compacts and drowns roots in a container. Our concrete pots are hand-cast from a Fibre Concrete Mix that is made for exactly this life, full sun, rain and frost, year after year. Stand them on pot feet so water drains freely and the base never sits wet.
Choosing the first plants
For a first season, buy tough. Indigenous plants that grow wild in your province have already solved the climate for you. Wild garlic, Tulbaghia violacea, flowers for months, laughs at frost and drought, and keeps aphids off the roses next to it. Dietes, agapanthus, plectranthus for shade and any of the local salvias will all forgive a beginner. Fill in with herbs, which are cheap, quick and useful, and a few annuals for colour while the shrubs bulk up. Resist the exotic thing you saw on Instagram until year two.
Buy small plants, not big ones. A 4 litre shrub costs a fraction of a 20 litre one and in most cases catches up within two seasons, because it roots into your soil rather than sulking in a rootball that was grown somewhere else. If you want to compare a few options before deciding, our Plant Compare tool puts sun, water and size needs side by side.
Water, and the habit of paying attention
New plants need water far more often than established ones, roughly every second day for the first few weeks in summer, then tapering off. Water deeply and early in the morning, at the base rather than over the leaves. A thick layer of mulch, bark or even dry leaves, cuts your watering by a third and keeps the soil cool. After that, the most useful thing you can do is walk the garden every day for five minutes. You will spot the wilting pot, the aphids, the snail damage, while they are still small problems. Gardens that get looked at survive. Gardens that get visited on Saturdays do not.
Starting from scratch is a gift, really, because you get to put the right plant in the right place from the beginning instead of undoing someone else's mistakes. Take the week to watch the light, squeeze the soil, start one bed and put pots where the ground will not cooperate. When you are ready for those pots, our full range of hand-cast concrete pots covers everything from a herb pot for the kitchen door to the big anchors that make a new garden feel finished.
Pots for the spots that will not cooperate
From a herb pot at the kitchen door to the big anchors that make a new garden feel finished, browse our hand-cast concrete pots.
Shop pots →Frequently asked questions
How do I know how much sun my garden gets?
Check the garden at three or four different times of day over a week and note where direct sun falls. Six or more hours of direct sun counts as full sun, and in South Africa that is usually the north-facing side of the house.
What is the jar test for soil?
Half fill a straight jar with soil, add water and a drop of dishwashing liquid, shake and leave overnight. Sand settles at the bottom, silt above it and clay on top, and the thickness of each layer shows your soil type.
Should I start with beds or pots?
Start with whichever suits your space. Beds are cheaper per square metre if you have decent soil; pots are the answer on paving, in rentals, on compacted fill or wherever you want to garden immediately.
What are the easiest plants for a beginner garden in South Africa?
Indigenous plants such as wild garlic (Tulbaghia), dietes, agapanthus, plectranthus and local salvias tolerate frost, heat and irregular watering. Herbs and a few annuals fill gaps while shrubs establish.
Can I use garden soil in pots?
No. Garden soil compacts, drains poorly and starves roots of air in a container. Use a proper outdoor potting soil and, in very large pots, a layer of pot filler at the base.

1 comment
I would like to learn more about how to take care of plants
Tebatso
Leave a comment
This site is protected by hCaptcha and the hCaptcha Privacy Policy and Terms of Service apply.