
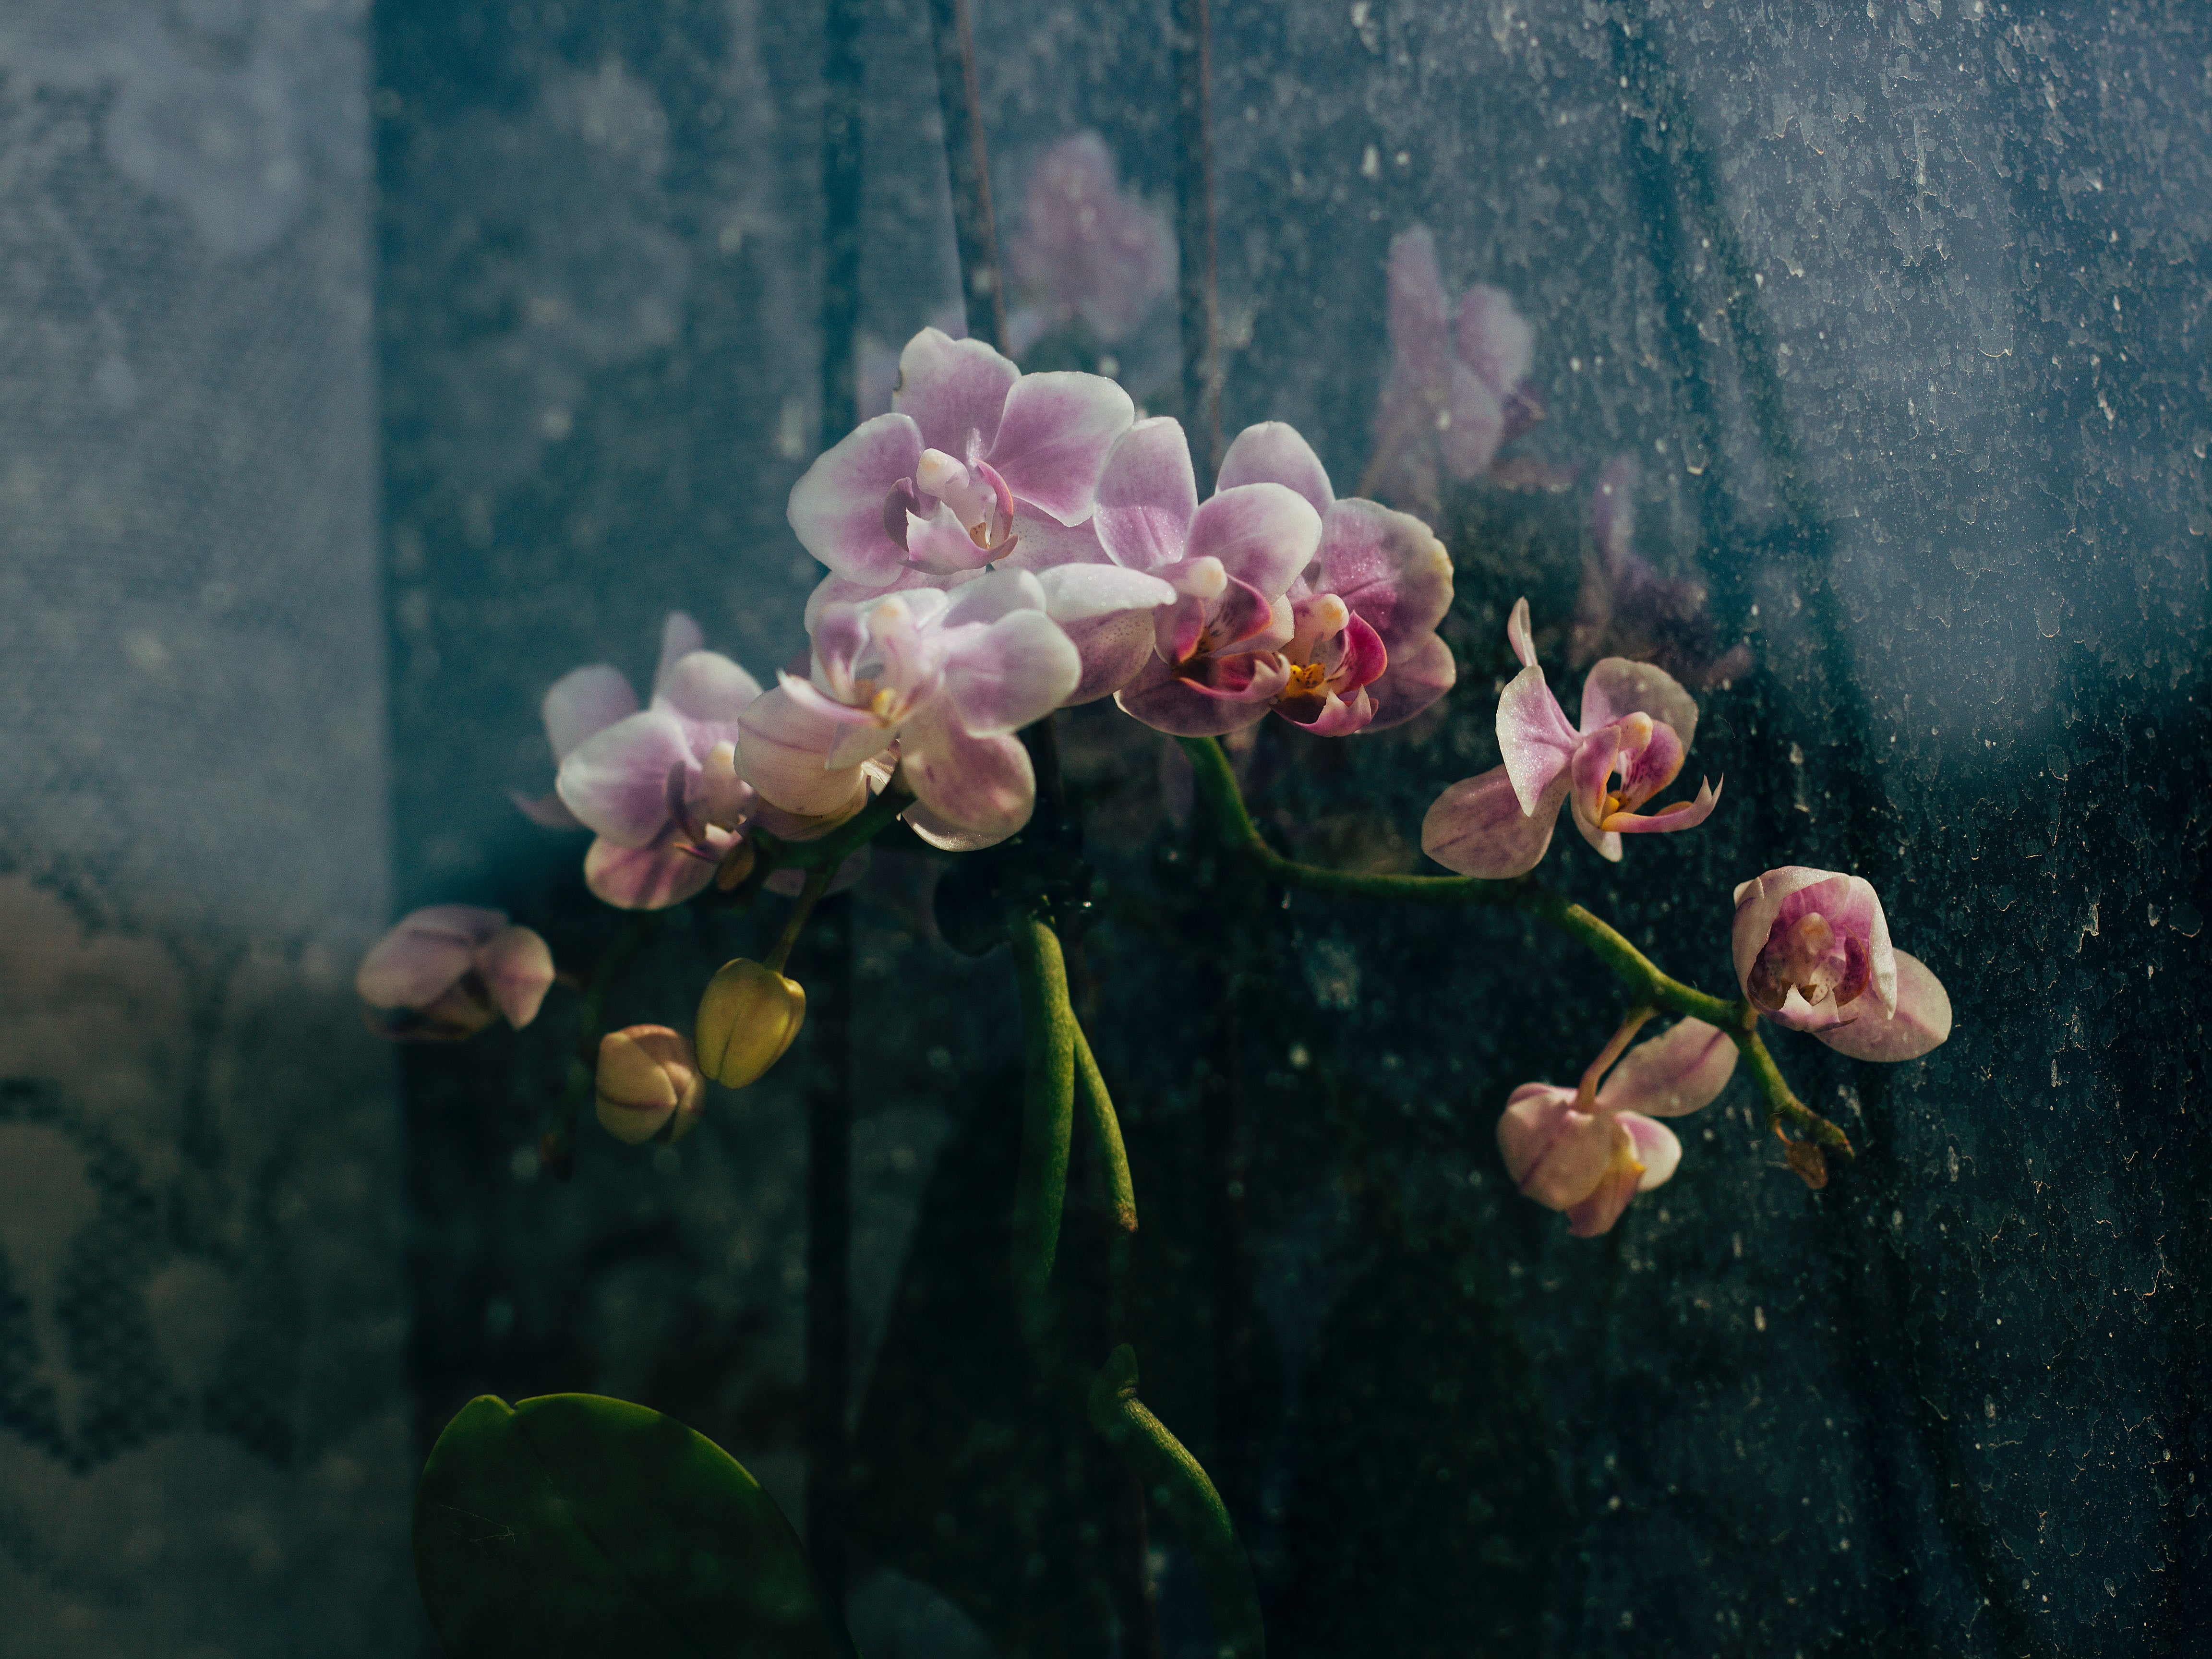
How to take care of orchids, a beginner's guide
The short answer
Most beginner orchids are moth orchids (Phalaenopsis), and they are far easier than their reputation suggests. Give yours bright, indirect light out of direct sun, water it about once a week by soaking the roots and letting every drop drain away, and never leave it standing in water. Grow it in a clear pot in bark or orchid mix, not ordinary soil, so the roots get air and you can see when they are dry. Feed lightly through the growing season. When the flowers drop, do not throw it out. Cut the spike back and it will usually flower again. Get the light and the watering right and the rest looks after itself.
Most people meet their first orchid the same way. You are walking through a shop, you see this impossibly elegant thing with arching stems and blooms that look almost too perfect to be real, and it comes home with you. Then a few weeks pass, the flowers drop, and you are left staring at a pot of leaves and strange grey roots wondering what you are meant to do now.
Here is the reassuring part. Orchids have a reputation for being fussy, and it is mostly undeserved. The one you almost certainly bought is a moth orchid, or Phalaenopsis, and it is one of the most forgiving houseplants there is once you understand the handful of things it actually cares about. Get those right and it will flower for months, rest, and then flower again. Get them wrong and it sulks, but even then it is usually recoverable. Let's walk through it properly.
First, work out what you are holding
Nine times out of ten a supermarket or nursery orchid is a moth orchid. You can tell by the broad, flat, leathery leaves near the base and the tall thin stem the flowers grow along. This matters more than it sounds, because moth orchids are epiphytes, which is a fancy way of saying they grow on trees in the wild rather than in the ground. Their roots cling to bark and hang in the open air, sipping moisture from rain and humidity as it passes. That single fact explains almost everything about how you look after one, and it is exactly why treating an orchid like a normal potted plant is the fastest way to lose it.
If you like knowing what you are getting into before you commit, our Plant Compare tool lines up sun, water and space needs side by side, which is a good habit for any plant you bring home, orchid or otherwise.
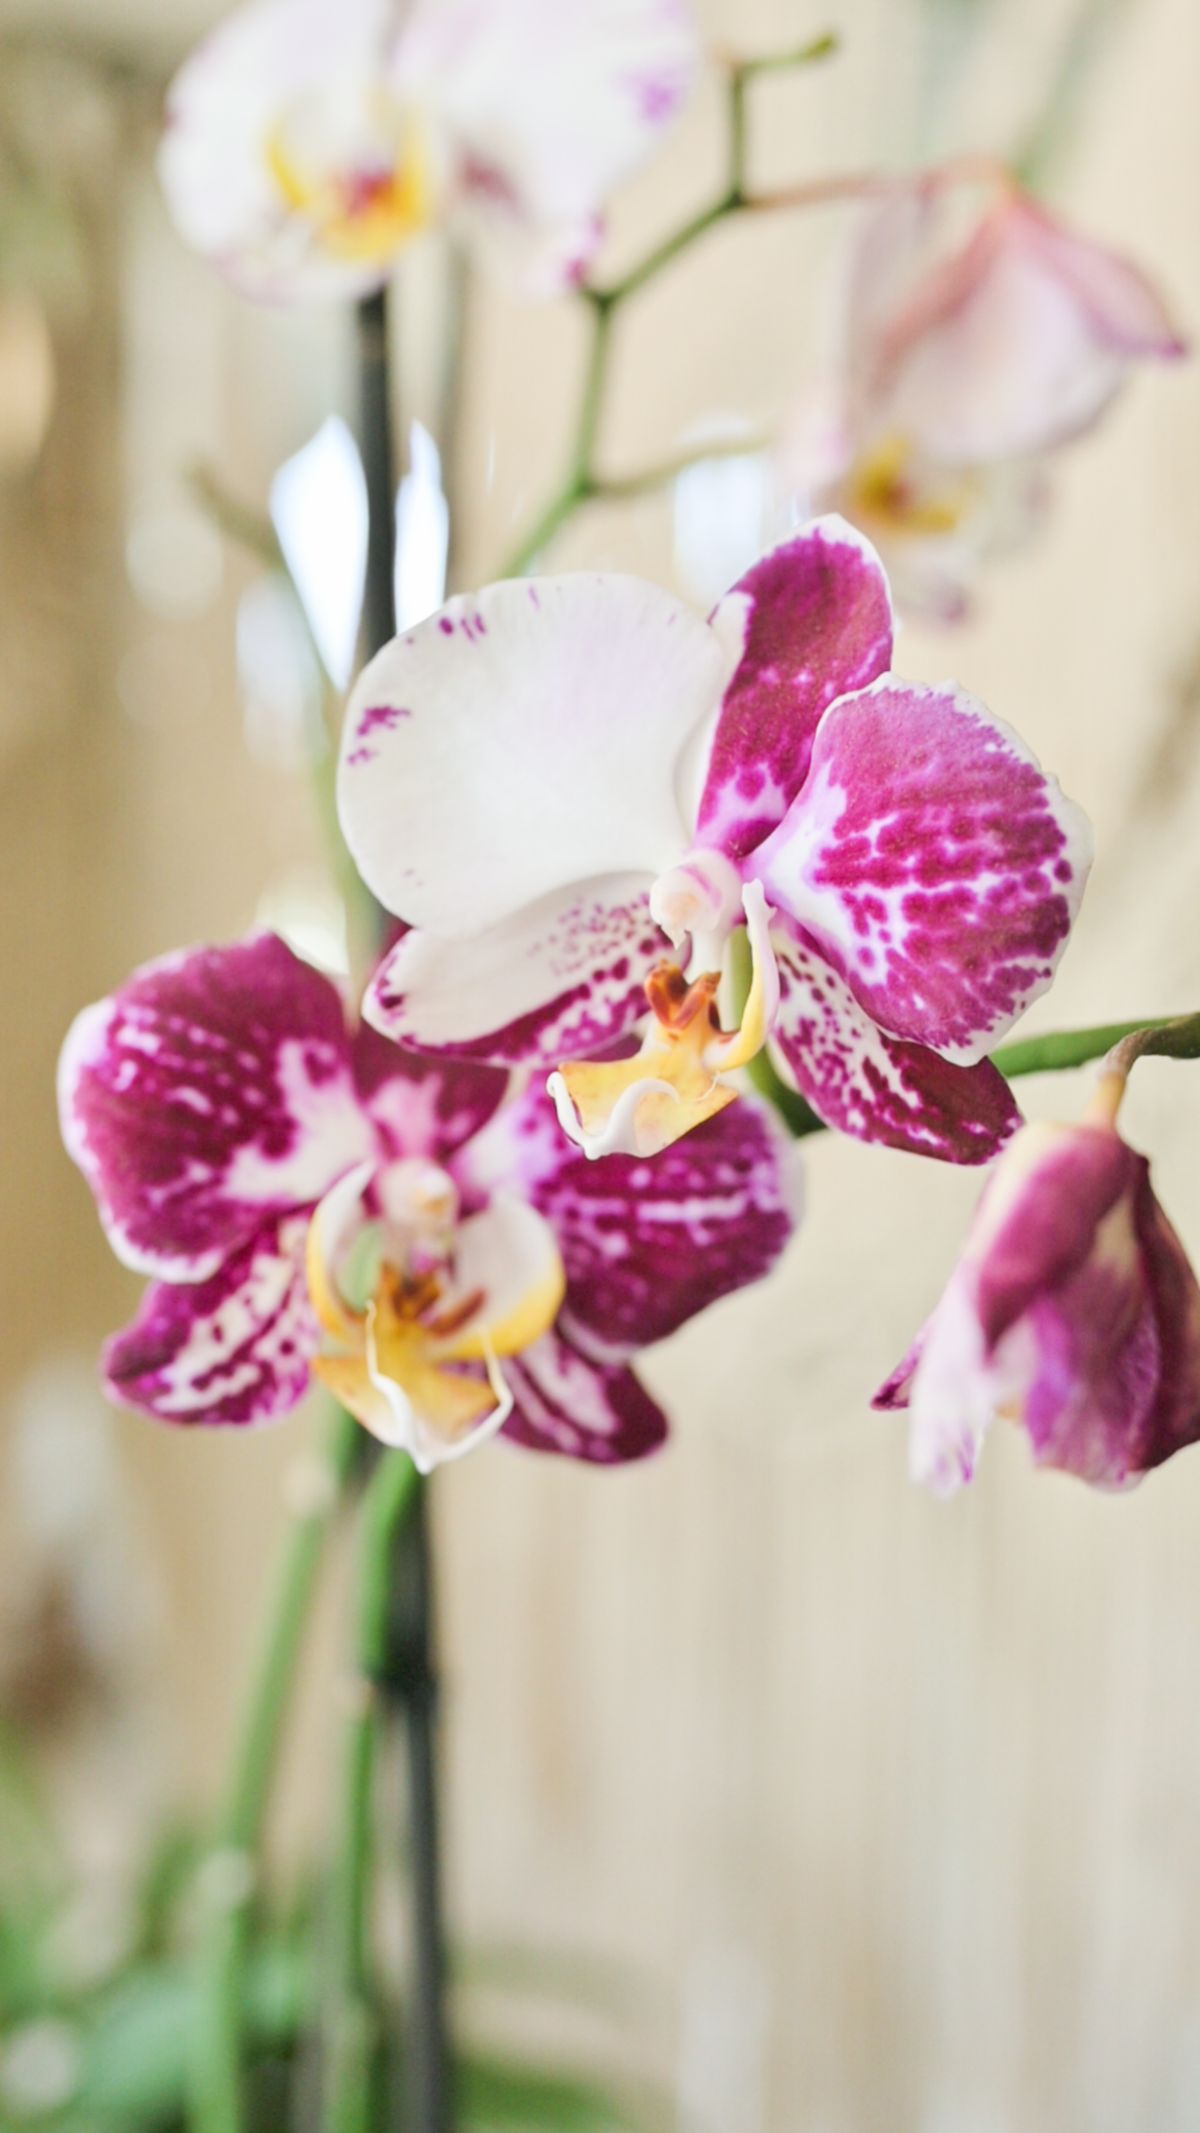
Give your orchid a home it deserves
Browse our handmade concrete pots, cast from a tough Fibre Concrete Mix for years of indoor and outdoor life.
Shop concrete pots →Light, bright but never direct
Orchids want plenty of light, just not the harsh midday kind. Picture the dappled light under a forest canopy, which is what they evolved with. A windowsill that catches gentle morning sun, or bright indirect light for most of the day, is close to perfect. An east facing window is often the sweet spot, and a west facing one works too if it is not baking hot in the afternoon.
The nice thing is the plant will tell you if you have it wrong. Healthy orchid leaves are a mid, grassy green. If they turn dark, almost forest green, the plant is asking for more light. If they look yellowish or you spot reddish patches, it is getting too much and starting to scorch. In a South African summer especially, a bright north facing window can be fierce through the middle of the day, so a sheer curtain does a lot of quiet good.
Watering, where most orchids actually die
If you take one thing from this whole guide, take this. Orchids are killed by kindness far more often than by neglect, and the kindness is nearly always water. Those thick roots need to breathe, and if they sit wet they rot, which is the single most common way a beginner's orchid gives up.
So forget any watering schedule. Look at the roots instead, which is where the clear plastic nursery pot orchids come in really earns its keep. When the roots are silvery grey, the plant is dry and ready for a drink. When they are bright green, there is still moisture in there and it can wait. Once you start reading the roots like this, watering becomes almost impossible to get wrong.
When it is time, take the plant to the sink and let tepid water run through the bark for thirty seconds or so, letting it drain right out the bottom. Or sit the pot in a bowl of water for about fifteen minutes, then lift it out and let every last drop drain away. What you never do is leave it standing in water. In a warm, dry part of the country that might mean a drink once a week. In a cool, humid spell it might stretch to two. The plant decides, not the calendar. If you want the fuller picture on watering potted plants in general, we go into it properly in are you drying out your pot plants.
The pot situation, and a small trick that helps a lot
Your orchid almost certainly arrived in a clear plastic pot with slits or holes down the sides. Leave it there. Those holes let air reach the roots and let you see what is happening inside, both of which the plant loves.
The lovely part is you can slip that clear pot straight into a decorative outer pot, a cachepot, and get the best of both worlds. The orchid keeps its airy home, and your shelf gets something far nicer to look at than scuffed plastic. A simple concrete or ceramic pot one size up does the job beautifully, and because it is only cradling the inner pot, you are not committing the plant to anything permanent. Have a wander through our indoor and patio pots if you want to see the shapes that suit a windowsill. Just remember to lift the inner pot out to water it, let it drain, and only then drop it back in, so water never pools in the bottom of the outer pot.
Humidity and temperature, the South African bit
Orchids come from humid forests, and plenty of South African homes, especially up on the Highveld, are dry. You do not need to turn the place into a greenhouse, but a little help goes a long way. The easiest fix is a shallow tray of pebbles with a bit of water in it, sitting under the pot. The water evaporates around the plant and lifts the humidity right where it matters, while the pebbles keep the roots up out of the wet. A bag of decorative pebbles and a drip tray is genuinely all it takes. A bright bathroom makes a naturally happy orchid home for the same reason.
On temperature they are easy going. They are content through most of the day somewhere between about 18 and 29 degrees, which covers most of the year in most of the country. What they dislike is sudden change, so keep them clear of the direct blast of an air conditioner, a heater, or a draughty doorway.
Feeding, little and often
Through the warmer growing months a weak feed keeps an orchid strong and sets it up to flower. The old grower's line is weakly, weekly, meaning a dilute orchid fertiliser roughly every week or two while the plant is actively growing, then easing right off through the cold months when it is resting. Always feed onto damp roots rather than bone dry ones, so you are never fertilising a thirsty plant. More is honestly not better here. A light hand is the whole game.
Repotting, every couple of years
Orchids do not need repotting often, and they actually quite like being a bit snug. Every one to two years the bark mix breaks down into something soft and soil like, and once it stops draining freely it starts holding water against the roots, which brings us straight back to rot. That is your cue. Repot into fresh orchid bark, not potting soil, which stays far too wet for them, gently teasing away any dead brown mushy roots and keeping the firm, pale green ones. The best moment is just after flowering, when the plant is about to push new growth anyway. It helps to understand a little about growing media generally, and our guide to the best type of soil for plants is a good companion read, even though the orchid is the one plant that wants bark rather than soil.
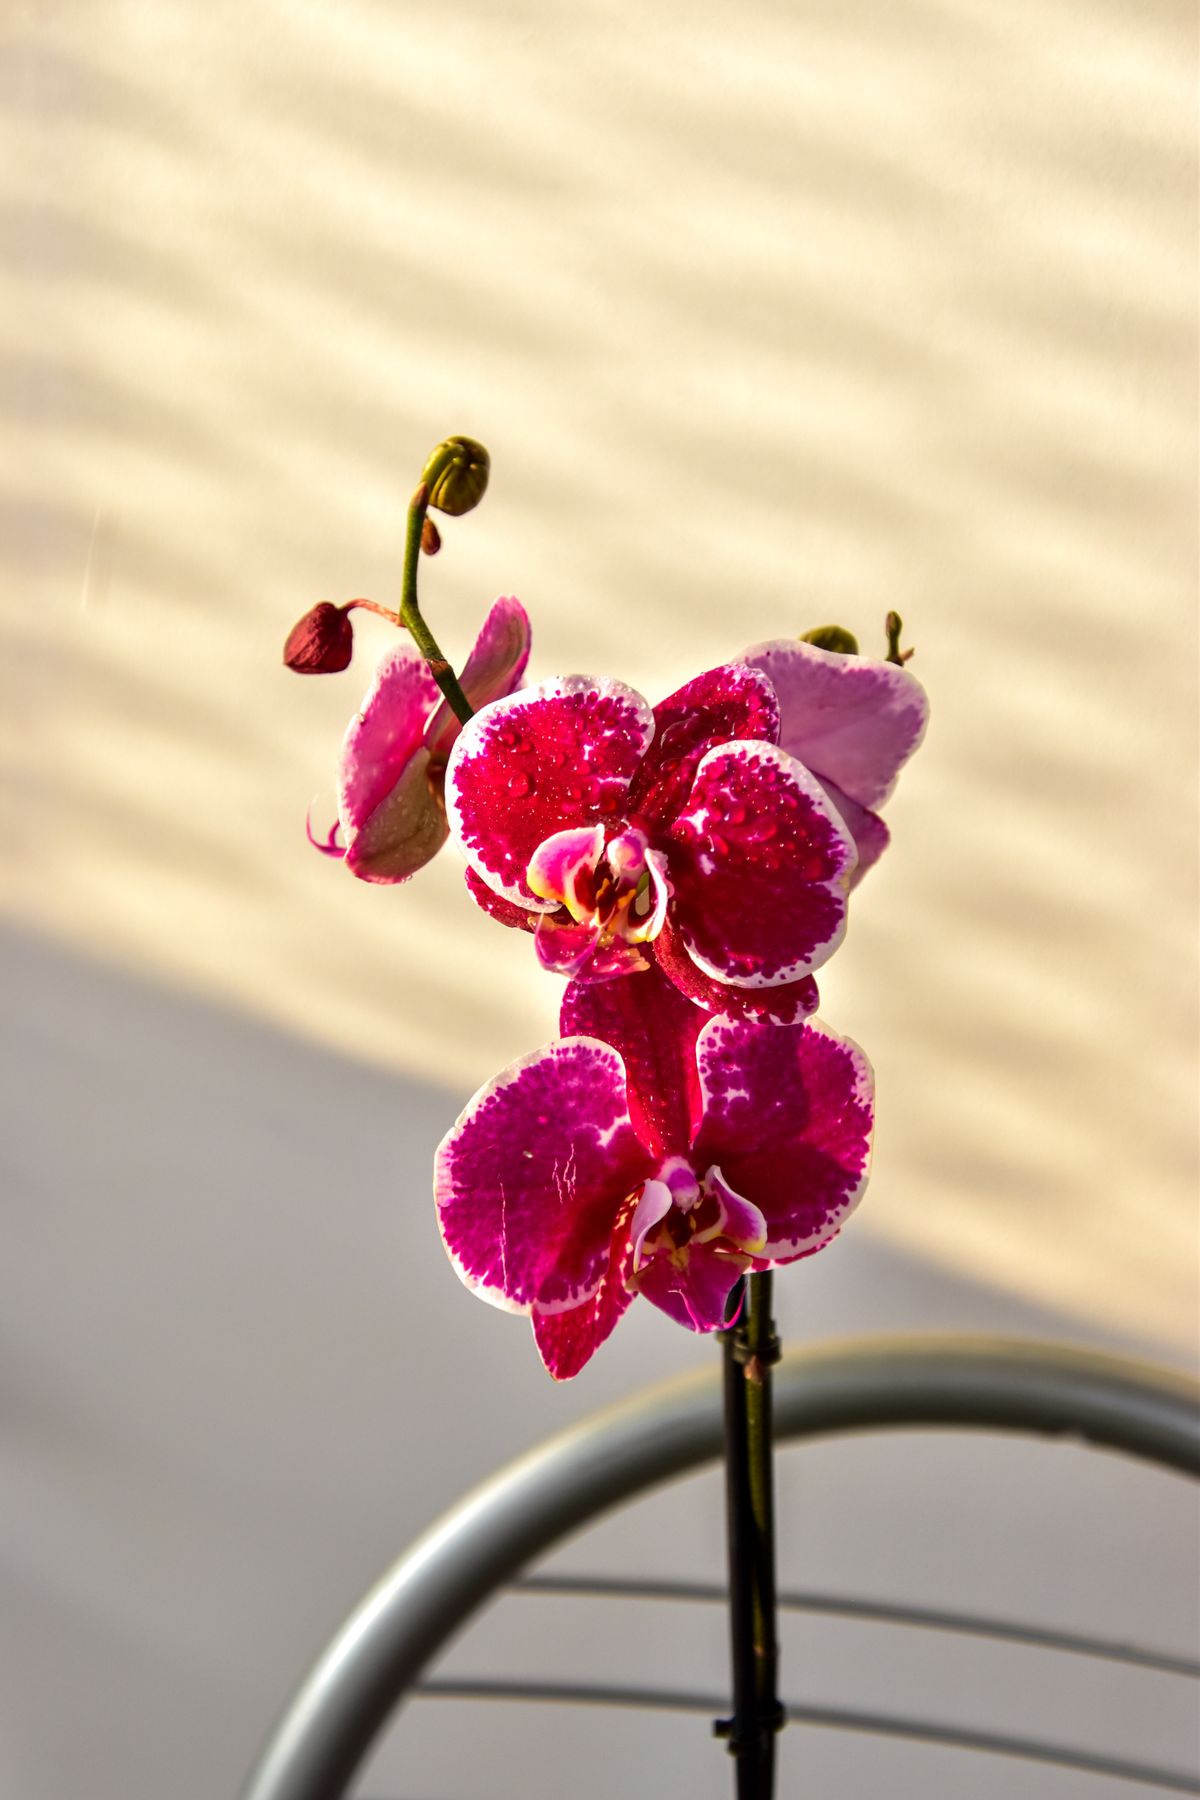
Getting it to flower again, the part everyone gives up on
This is where most people quietly bin a perfectly healthy orchid, assuming it was a one time show. It was not. Once the last flower drops, look closely at the spike. If it is still green and firm, you can trim it back to just above the second or third node from the base, those small bumps along the stem, and there is a fair chance a side shoot will form and flower again from one of them. If the spike has gone brown and strawy, cut it right down to the base and let the plant pour its energy into leaves and roots instead.
Then comes the trigger almost nobody hears about. Moth orchids are nudged into producing a new flower spike by a drop in night temperature, a run of cooler evenings a few degrees below the daytime warmth, ideally around 13 to 16 degrees for three or four weeks. In South Africa the slide into autumn does this for you, so an orchid sitting near a window that cools off at night will often surprise you with a fresh spike as the season turns. Keep it lit, keep it lightly fed, be patient, and it comes back.
When something looks wrong
A few common worries, quickly. Limp, wrinkled leaves usually mean the roots are not taking up water, which oddly is more often from rot caused by overwatering than from underwatering, so check the roots before you reach for the watering can. Yellowing lower leaves can simply be old age as the plant sheds its oldest one, nothing to panic about. Buds that form and then shrivel before they open, known as bud blast, are almost always a reaction to a sudden change, a cold draught, a move across the room, or dry air, so steady conditions sort it out. Sticky spots or fine webbing point to pests like mealybugs or spider mites, and a wipe with a soft damp cloth plus a bit more airflow usually catches it early.
The short version
Bright indirect light, water only when the roots turn silvery, never let it stand in water, feed lightly through the warm months, and be patient after flowering. That really is most of it. Orchids reward a light touch and a bit of quiet observation far more than they reward fussing, and once you have kept one going through a full cycle and watched it spike again, you tend to end up with a windowsill full of them.
If you are catching the orchid bug and want to build out the rest of your indoor greenery, have a look at easy houseplants to grow and using houseplants to create beautiful indoor spaces. And when you are ready to give one of yours a pot worth showing off, the whole Pot Shack range is here whenever you need it.
Frequently asked questions
How often should I water an orchid?
About once a week. Soak the roots, then let all the excess drain away completely. Water a little more in summer and less in winter, and check the roots, green means wet and silver-grey means it is ready for water.
Where should I put my orchid?
In bright, indirect light, such as near an east-facing window. Keep it out of direct midday sun, which scorches the leaves.
Why are my orchid's leaves turning yellow?
Usually too much water or too much direct sun. Let the roots dry out between waterings and move it somewhere brighter but out of harsh sun.
What should I plant an orchid in?
Bark or a specialised orchid mix, never ordinary potting soil, which suffocates the roots. A pot with good drainage is essential, and a clear pot makes it easy to judge watering.
How do I get my orchid to flower again?
After the blooms drop, cut the flower spike back to just above a node. Keep caring for it as normal, and a slight drop in night temperature often triggers a fresh spike.
Are orchids hard to keep alive?
No. Most orchid problems come from overwatering. Get the light and watering right and they are surprisingly forgiving.


,%20and%20they%20are%20far%20easier%20than%20their%20reputation%20suggests.%20Give%20yours%20bright,%20indirect%20light%20out%20of%20direct%20sun,%20water%20it%20about%20...)
5 comments
Why are the leaves of my Orchid hanging?
Louise Bothma
I have an orchid of which the buds turn yellow once they emerge. What are we doing wrong?
Tony van Rensburg
Show me a picture orchid
Ann Iknott
Where do I buy fert . And bark
Ann Knott
Where can I buy bark or soil and fertilizers for my orchid ?
Ann knott
Leave a comment
This site is protected by hCaptcha and the hCaptcha Privacy Policy and Terms of Service apply.