
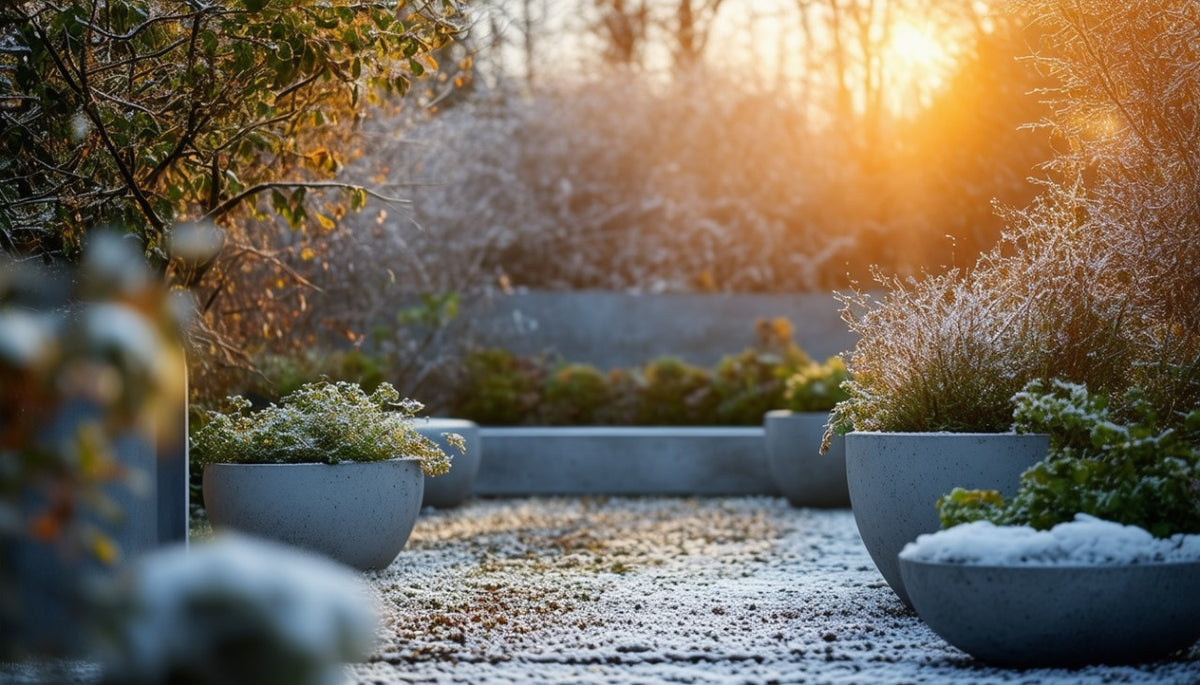
How to build a container garden that actually thrives
The short answer
A container garden thrives on five things done properly. Drainage first: every pot needs an open hole, lifted on feet so water can leave, with Pot Filler in the base of anything deep. Then a real potting mix, never garden soil, with compost added for hungry plants. Match each plant to the sun the spot actually gets, counting hours, before you think about how it looks. When combining plants in one pot, use one upright plant for height, a couple of mounding plants to fill the middle, and one trailing plant to soften the rim, all with the same sun and water needs. Water deeply in the morning when the top few centimetres are dry, which is daily in Highveld summer and weekly in winter, and feed every two weeks because watering washes nutrients out.
Most of the pots that fail do not fail because of the plant. They fail because of what happened before the plant went in: a blocked hole, a pot sitting in a puddle, garden soil scooped from the bed, a shade plant on a west wall. We have replanted enough of them for customers to know the pattern by heart, and the good news is that every one of those problems is solved in the first twenty minutes of planting.
So this is a build order. Not tips and tricks, just the sequence we follow when we plant up a pot at the nursery in Centurion, and why each step exists. Follow it for one pot and you will have a container that looks better in its second summer than its first, which is the whole point.
Drainage before anything else
Turn the pot over before you fill it and look at the hole. It needs to be open and it needs somewhere to drain to. Illinois Extension's page on container drainage puts it plainly: very few plants tolerate sitting in stagnant water, and plants rarely recover from root rot. A pot standing flat on paving seals its own hole every time it rains. Lift it on concrete pot feet so air and water move under it, and if it must stand on a drip tray indoors or on a balcony, tip the tray out within an hour of watering.
For anything deeper than about 50 cm, put a layer of Pot Filler in the bottom, roughly a fifth of the depth. It stops the base becoming a sour, airless slab that roots refuse to enter, and it saves you a bag of soil. Cover it with a square of shade cloth or an old geotextile offcut so the mix does not wash down into it. If you are planting a big concrete pot for the first time, read how to plant your concrete pot to reduce cracks first, because what you fill it with and how the water leaves it decides how the pot ages through frost.
The right mix, and why garden soil stays outside
Garden soil in a pot compacts into a brick, drains badly and brings cutworm, weed seed and every fungal spore in the bed with it. A container mix is built to stay open and airy while holding moisture, and that balance is what roots want. For outdoor pots use Bark Outdoor Potting Soil, and for anything that eats a lot, so roses, citrus, vegetables, hydrangeas, mix in about a third of Bark Compost before planting. Succulents and aloes want the gritty Succulent Mix instead, and houseplants want the lighter Indoor Potting Soil. Our piece on whether garden soil can be used in pots goes into the why, if you are tempted.
Fill to about 5 cm below the rim so there is a lip to hold water while it soaks in. Firm the mix gently with your fingers, not your fist, and water it thoroughly before the plants go in so it settles. You will be surprised how much it drops, and topping up after planting is far easier than digging plants out because the pot is half empty.
Match the plant to the sun the spot really gets
Stand in the spot at nine, noon and three on a clear day and count the hours of direct sun. Six or more is full sun, and that is where lavender, succulents, Strelitzia, agapanthus, herbs, tomatoes and most flowering annuals belong. Three to five hours of morning sun is semi-shade, the sweet spot for clivias, plectranthus, fuchsias and most ferns. Under two hours is shade, and only a handful of plants are genuinely happy there. On the Highveld a west-facing wall in January is hotter than any label anticipates, so treat afternoon sun as a full-sun position even when the total hours seem modest.
Do this before you buy the plant, not after. Our Garden Planner matches plants to sun, pot size and region, and the plant care guides cover the common pot plants one by one. It is far cheaper to spend ten minutes there than to replace a fern in February.
Thriller, filler, spiller, explained without the jargon
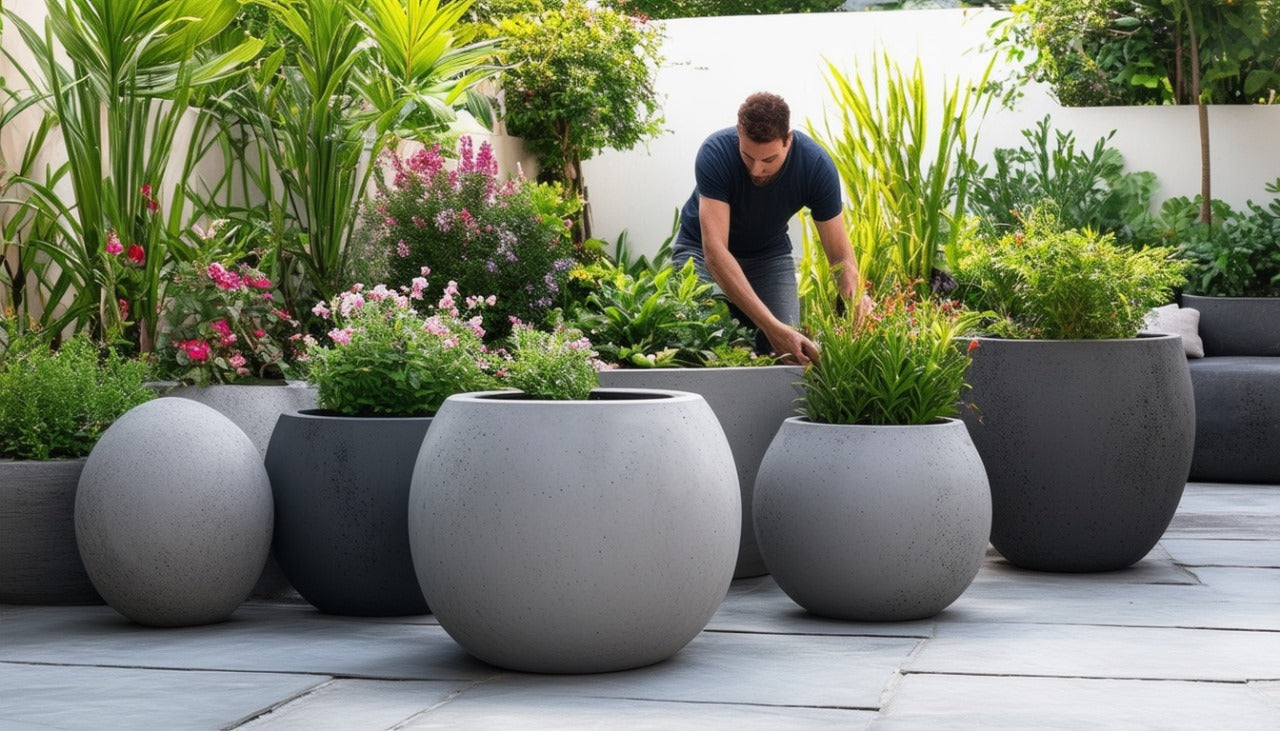
You will see this phrase in every container gardening book, and it is a useful idea once you strip the jargon off. A mixed pot looks finished when it has three kinds of plant in it. One upright plant that gives the pot height and a clear shape, so a Strelitzia, a grass, a cordyline, a standard rose. Two or three mounding plants around it that fill the middle and hide the soil, so pelargoniums, salvias, gazanias, heuchera in shade. And one trailing plant at the rim that spills over the edge and softens the hard line of the pot. Ivy-leaved pelargonium is our favourite spiller in sun, and SANBI's page on Pelargonium peltatum describes exactly why: it is a trailing, semi-succulent plant with long shoots that can run to two metres, so it drapes and it copes with heat.
The rule that makes or breaks the combination is that all three must want the same sun and the same water. A succulent spiller under a thirsty upright plant will rot, and a fern filler around a lavender will scorch. Choose the upright plant first for the spot, then pick companions from the same conditions. If a pot is under 40 cm across, skip the combination and plant one thing well. Crowded small pots dry out in hours.
Planting so it settles, not sulks
Plant in the late afternoon so the first night is cool. Water the plants in their bags an hour beforehand so the root ball slides out whole. Set each plant at the same depth it was growing at, never deeper, and firm the mix around the root ball with your fingers so there are no air pockets. Leave a hand's width between plants that will mound and spread; they look sparse for three weeks and perfect for the rest of the season. Water slowly and thoroughly until it runs from the hole, then keep the pot out of the harshest afternoon sun for four or five days if you can move it.
A watering rhythm for our climate
Water in the morning, deeply, and then not again until the top 2 to 3 cm of mix are dry. The RHS advice on watering sums up the principle: water less often but more thoroughly, then let the surface dry before you go again. In practice that is once a day in Highveld midsummer for a 40 cm pot, twice for smaller ones on a hot wall, and once a week or less through a dry Gauteng winter. Cape gardeners have the opposite problem, wet winters and dry summers, and a pot in a Cape courtyard in February with the south-easter blowing can need water twice a day. Poke a finger in before you water rather than watering on a schedule, and read watering outdoor potted plants for the detail on signs of over and under watering.
A 3 cm layer of bark or pebbles on the surface cuts evaporation noticeably and keeps the root zone cooler, and concrete helps too. The mass of a Fibre Concrete pot buffers the soil against the afternoon spike that thin plastic passes straight through to the roots, which is one of the reasons the same plant so often looks healthier in concrete.
Feeding, because pots run out of food
Every time water runs out of the drainage hole it carries nutrients with it, so a pot needs feeding on a schedule a garden bed does not. Illinois Extension's guidance on fertilising containers is the version we follow: mix a slow-release fertiliser into the potting mix at planting, then supplement with a liquid feed roughly every two weeks through the growing season, applied to moist soil rather than dry so the roots are not burned. Every fourth or fifth watering, use plain water to flush salts through. Foliage plants take a higher nitrogen feed, flowering and fruiting plants want more potassium once buds show, and everything eases off from May until spring when growth slows in the cold.
Drainage, the right mix, honest sun hours, one upright plant with companions that share its needs, a morning watering rhythm and a feed every fortnight. Do those six things once and a pot looks after itself for years. Everything above works best in a pot that is heavy enough to stay put in a thunderstorm and dense enough to shield the roots from the heat, which is why we cast ours the way we do, and you can start your container garden with a concrete pot from the range here.
Build it in a pot that lasts
Put the drainage, mix and watering rhythm above to work in a hand-cast concrete pot from our range.
Shop concrete pots →Frequently asked questions
Do I need to put stones in the bottom of a pot for drainage?
A layer of Pot Filler in the base of pots deeper than about 50 cm improves drainage and saves soil, but it does not replace an open drainage hole. Lift the pot on feet so water can leave freely.
Can I use garden soil in containers?
No. Garden soil compacts, drains badly and brings pests and weed seed with it. Use a bark-based potting soil made for containers, with compost mixed in for hungry plants.
What does thriller, filler, spiller mean?
It is a way of combining plants in one pot: one upright plant for height, two or three mounding plants to fill the middle, and one trailing plant to spill over the rim. All of them must need the same sun and water.
How often should I water a container garden in South Africa?
Water in the morning when the top 2 to 3 cm of mix are dry. That is roughly daily in Highveld midsummer for a 40 cm pot, twice a day for small pots on a hot wall, and once a week or less in a dry winter.
How often should I feed plants in pots?
Mix a slow-release fertiliser into the potting soil at planting, then add a liquid feed about every two weeks during the growing season, applied to moist soil. Flush with plain water every fourth or fifth watering and ease off in winter.

Leave a comment
This site is protected by hCaptcha and the hCaptcha Privacy Policy and Terms of Service apply.